WooCommerce Multi Locations Inventory Management is fully compatible with Point of Sale for WooCommerce.

Image 01
2. Navigate to “Point of Sale” and select “Outlets”. Then, click on the “Add New” button, fill out the necessary details to create a new outlet, and finally click on “Publish” to save the changes.

Image 02
3. Below is an image displaying the list of created outlets.
 Image 03
4. Navigate to the “Registers” option under “Point of Sale“.
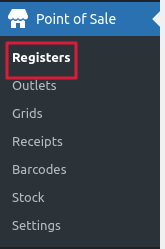
Image 04
5. To create a new register, navigate to “Point of Sale” and click on “Registers“. Then, click on “Add New” and fill out the required details for the new register. Finally, assign the desired outlet to the newly created register and click on “Publish” to save the changes.
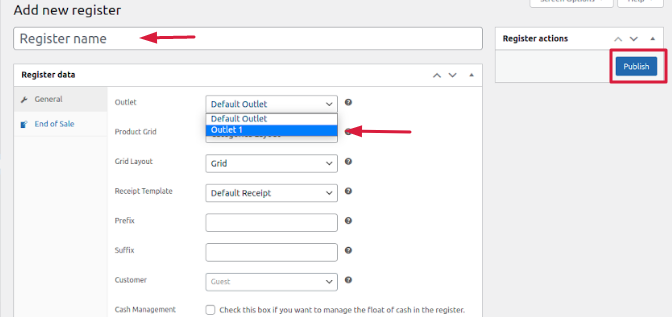
Image 05
6. To assign an outlet to a user, navigate to “Users” and edit the desired user. Then, select the outlet to be assigned to the user, as demonstrated in the image below.
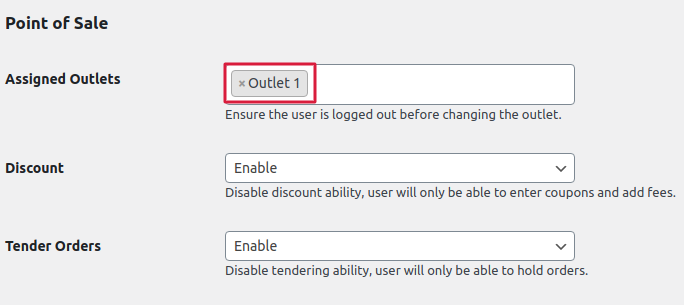
Image 06
- To use WC POS with Woocommerce Multi Locations Inventory Management, activate the WC POS compatibility setting.
1. To enable compatibility with WooCommerce Point of Sale, go to Multilocation → Settings → General, and enable the setting named “WooCommerce Point of Sale Compatibility,” as shown in the image below.

Image 07
2. To assign an outlet to a location, go to Multilocation → Manage Location → Edit the desired location. Then, assign the outlet to the location by selecting it from the available options, as shown in the image below

Image 08
3. Navigate to “Point of Sale” and click on “Registers“. Then click on “Enter” and login with your username and password for the desired location

Image 09
4. After successfully logging in, you will be able to view the Point of Sale interface.

Image 10
5. Let’s understand its workflow,
- You have created an “Outlet 1” and assigned it to “Register 1
- Then, you have mapped “Outlet 1” to New York City through the “Manage location” feature
- Now, you can log in to WC-POS using the login details for “Register 1”.
Let us now consider
There are currently 10 units of the “Laptop” product in stock at the New York City location, which has been assigned to “Outlet 1
When placing an order for a laptop through WC-POS using register1, which is mapped to “Outlet1” assigned to New York City, the stock quantity for that product is reduced accordingly. This is because there were 10 stocks of the product “Laptop” assigned to Outlet 1 in New York City.