Step 1 :- Please install the wp all import plugin.

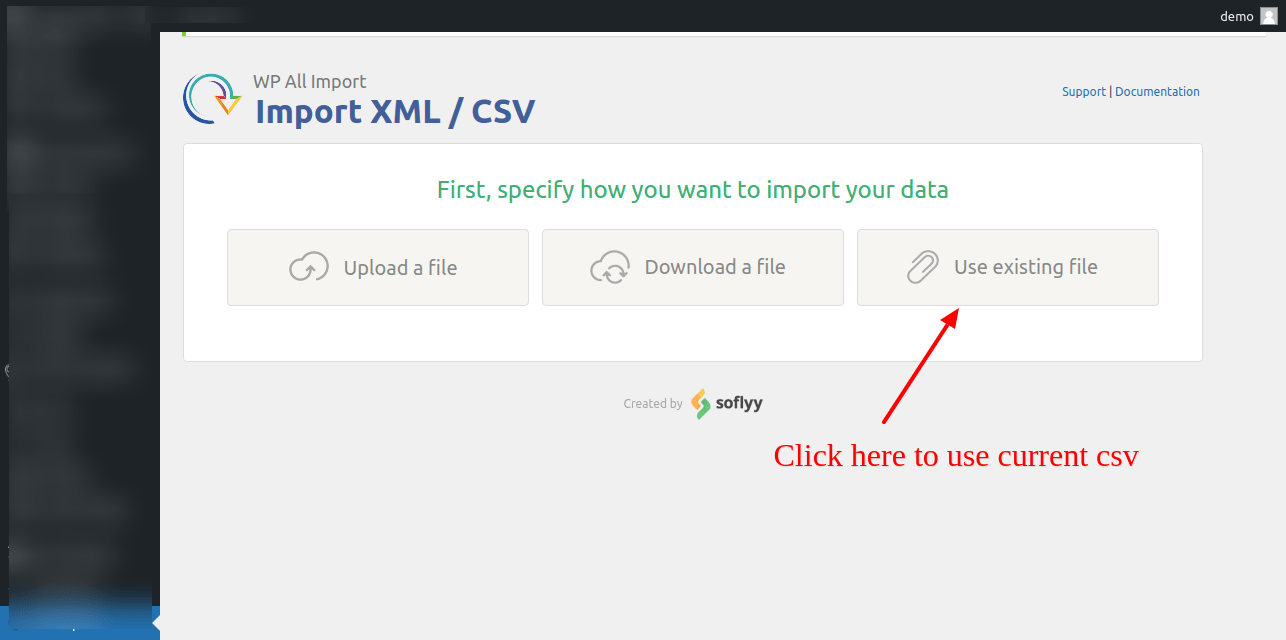
Step 2 :To start creating an import, the initial step is to upload the import file. You can either upload it from your computer, paste the URL of the file or select a pre-existing file that you’ve previously used with WP All Import.
The following step involves selecting whether to import new items or existing items. If you are importing data into existing posts on your site, choose Existing Items. However, if you are creating new posts, select New Items.
Lastly, you must choose what type of data you wish to import. Your options include posts, pages, taxonomies, users, or custom post types that may have been added by other themes or plugins, such as WooCommerce products or real estate properties
Choose whether to upload a new CSV file or refer to an existing one.
2.1 Choose the CSV file that already exists.
2.2 Choose an option from the dropdown menu for a sample and a variable from the example CSV.
2.3 Import the data from this file into an already existing item
2.4 From the ‘Create a new’ dropdown menu, choose ‘WooCommerce product’.
2.5 Proceed to Step 2 and save the changes.

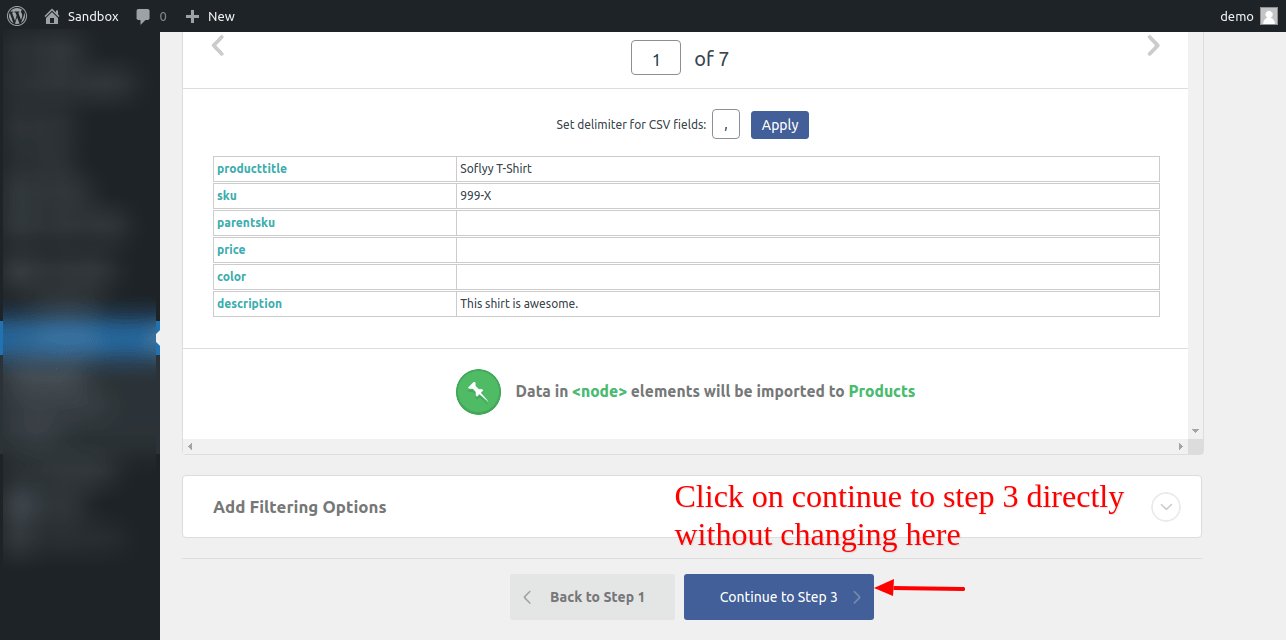
Step 3 :- No need to change anything in this step directly click on continue step 3
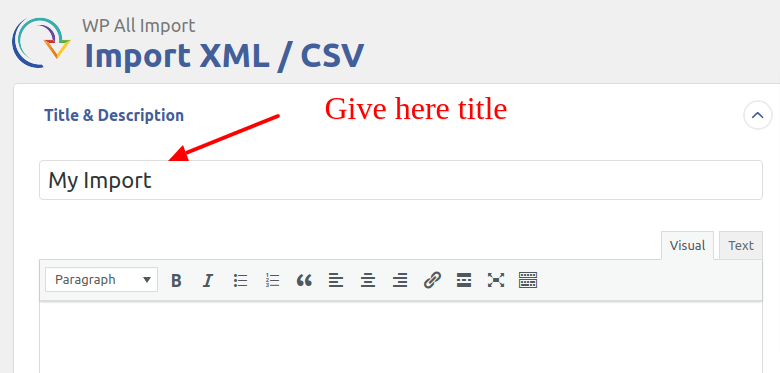
Step 4 :- Page will redirect title description n etc.
4.1 Title description >> Give the title as per requirement.
(You can fill in as much or as little of the fields as you like depending on your needs.)
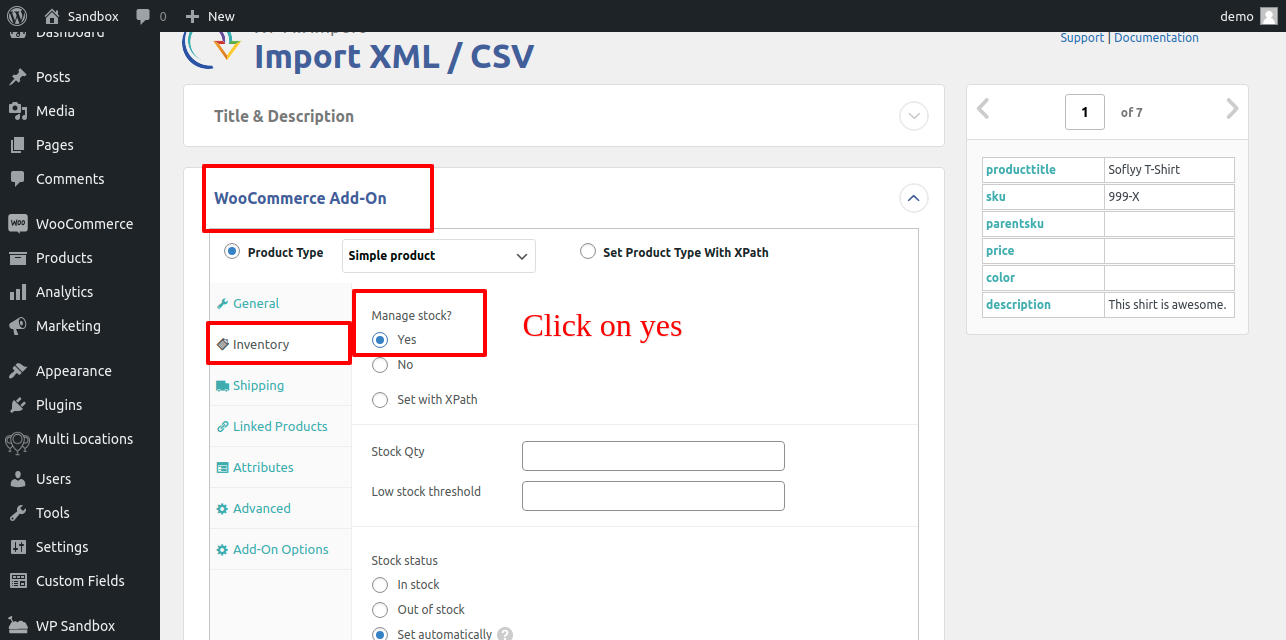
4.2 Woocommerce Add-on >> For simple product and variable product do manage stock yes(enable), go to inventory section check manage stock option and so click on YES option.
4.3 Custom Fields >> Click see detected fields, then multiple fields will come then keep only wcmlim_stock_at_{Taxonomy ID} fields other fields remove(delete)
4.4 Function Editor >> add this code which is given below.


************** Please replace highlighted number from below code with your locations ID*********************************** <
<?php function addWarehouses($id){
$total = 0;
$total = $total + get_post_meta($id, ‘wcmlim_stock_at_2115‘, true);
$total = $total + get_post_meta($id, ‘wcmlim_stock_at_2116‘, true);
$total = $total + get_post_meta($id, ‘wcmlim_stock_at_2117‘, true);
update_post_meta($id, ‘_stock’, $total);
if ($total > 0) {
update_post_meta($id, ‘_stock_status’, ‘instock’);
} else {
update_post_meta($id, ‘_stock_status’, ‘outofstock’);
}
}
add_action(‘pmxi_saved_post’, ‘addWarehouses’, 10, 1);
?>
This code line “$total = $total + get_post_meta($id, ‘wcmlim_stock_at_No’, true);” Enter taxonomy id, please refer from custom field because in custom field automatically taxonomy id will generate.
Example: In custom field “wcmlim_stock_at_100″ this id generated then in code line we need to add like this $total = $total + get_post_meta($id, ‘wcmlim_stock_at_100’, true);”
4.5 Save this function editor changes.
4.6. Click on continue step 4.
____________________________________________________________
Step 5:- On the next page …
5.1 Records in your file will be matched with Products on your site based on…>> Click on custom fields >> In the value section enter this “{sku[1]}” or drag from the right side product table.
5.2 Go to When WP All Import finds new or changed data.
Create new products from records newly present in your file >> Disable this
Skip products if their data in your file has not changed >> Disable this
Choose which data to update >> select this
5.3 Click on unselect all and check the list and click or select the custom fields option.
5.4 Input box will come to the enter your all location id like wcmlim_stock_at_100 then enter and type, again wcmlim_stock_at_101 after this, type manage_stock.
5.5 Click on continue.

Step 6:- Now it’s time to run your import.Then data will import and the successful message comes if data is not imported then they will display data skipped.


Step 7:- In the All product section go to the last page and edit that product and check.