Once you’ve successfully connected with Quickbooks, you can sync all of your Woocommerce Data Such as customers, products, taxes, orders, and so on with Quickbooks.
- Go to https://developer.intuit.com and log in.
- Select “Sandbox” from the “API Docs and Tools” menu.
- From the company column, select the required Company name. (See Screenshot).
- A new tab will open with the company’s homepage.
- Go to “Account and Settings” by clicking the Settings icon on the right side.
- Click “Sales” in the left pane.
- Turn the “Shipping” and “Discount” options on (ON). (See – Image 13)


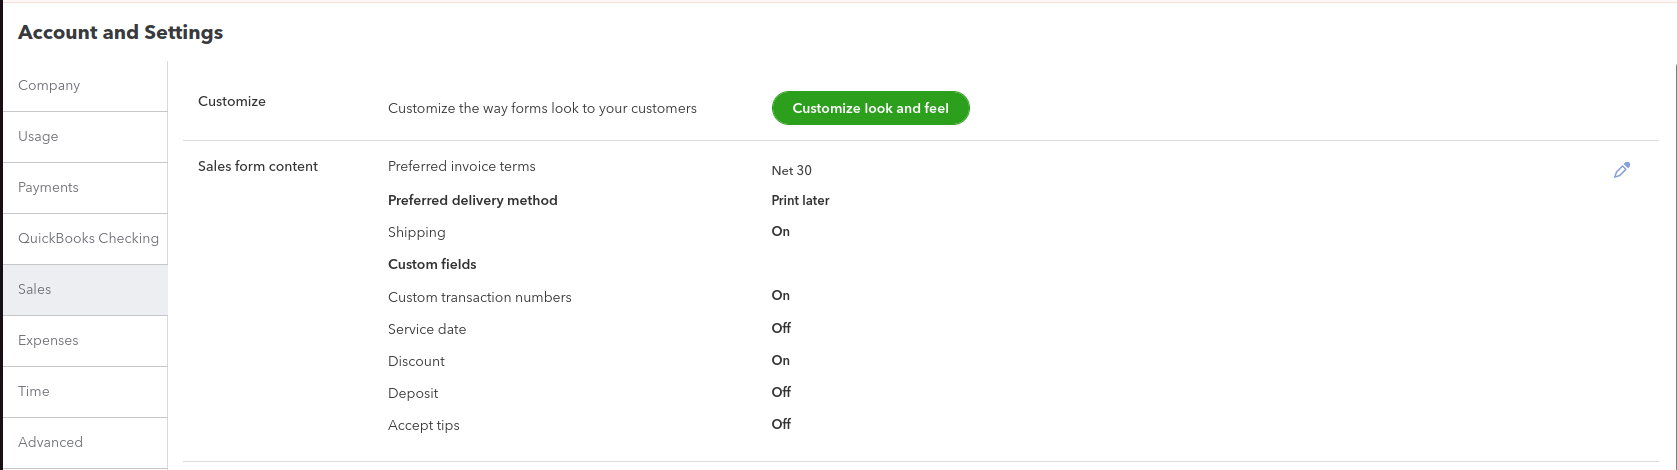
Image no 13
Admin Settings
1.Go to WordPress backend > Quickbooks Connector > Under QB, go to Settings and then to the “Export Rules” section.
2.Set the default values ‘Processing’ and ‘Invoice.’
3.The above setting is used to sync your sales order based on its status, and you must choose which form you wish to sync your sales order in the future. (See – Image 14)
Sample Error : When you select the processing option here but select on hold payment condition while making the order , you will receive an error when trying to export the order in Quickbook (please see Image no 15 and 16).
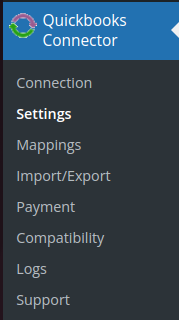
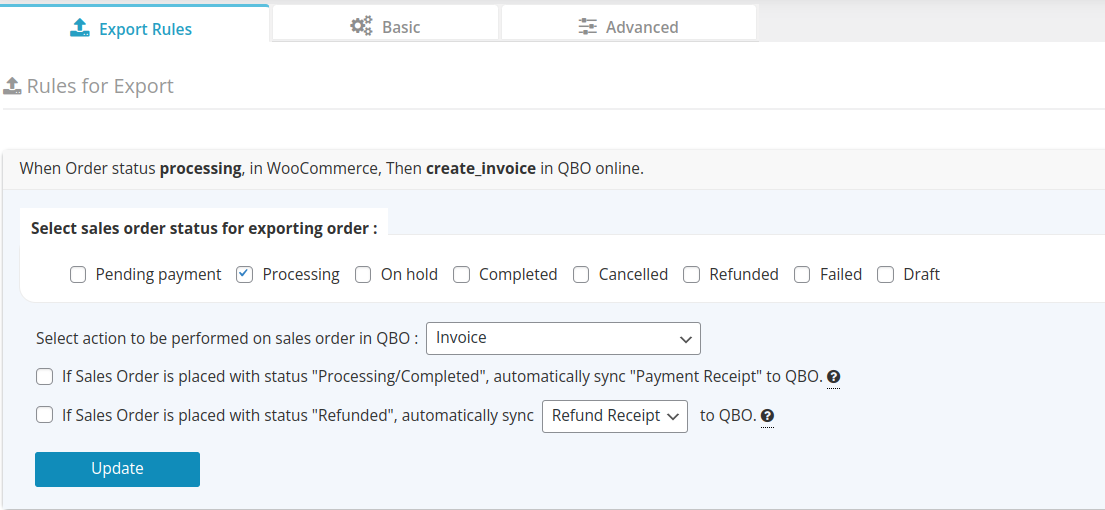
Image no – 14
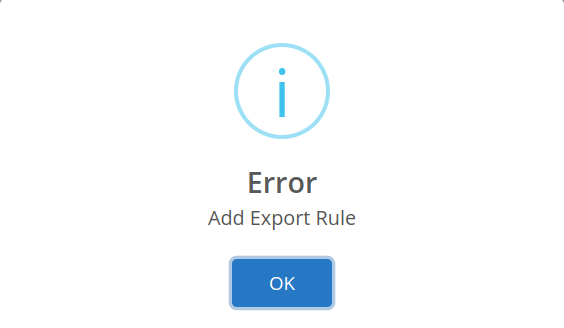
Image no – 15
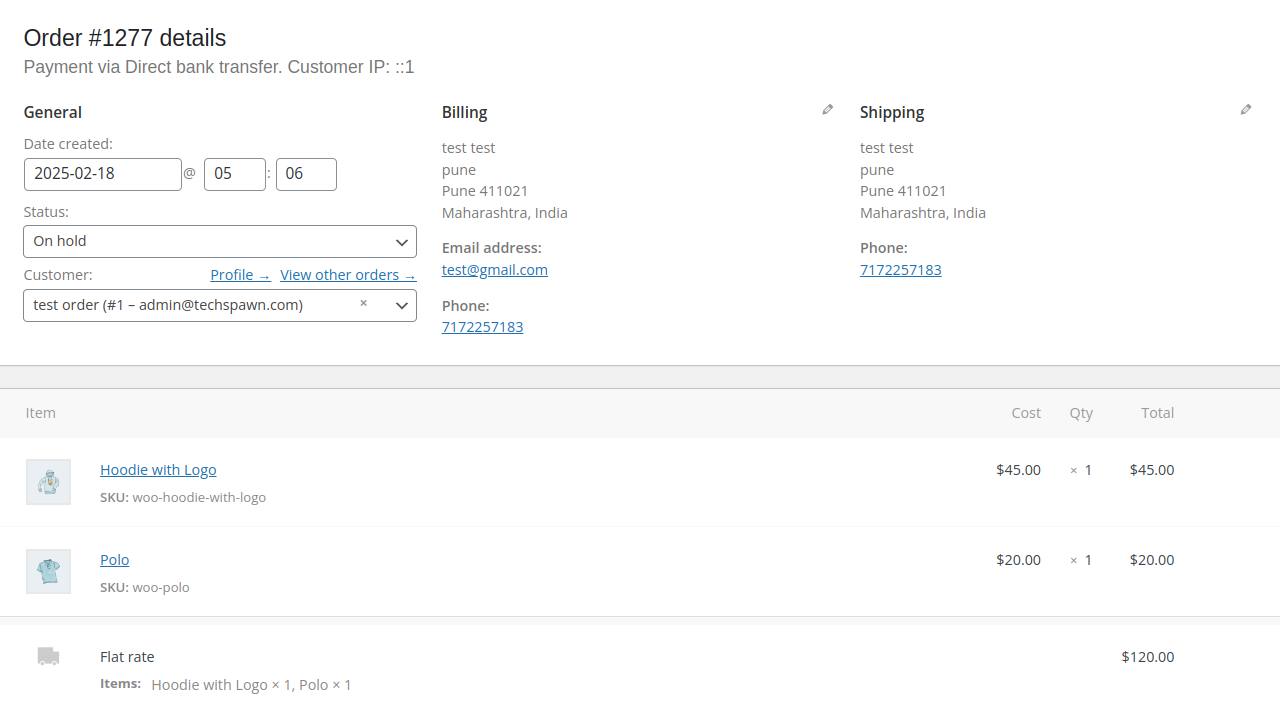
Image no – 16