We offer free 30-mins Setup and Configuration via Skype. We also offer plugin customization services at a low cost.
Schedule Time For Free Configuration Setup Call.
Support Skype Id & mail : support@techspawn.com
1. WordPress Plugin Uploader.
1. Log into your WordPress admin panel
2. Navigate to Plugin -> Add New
3. Click Upload.
4. Click Choose File and select the Quickbooks plugin package zip.
5. Click Install Now.
6. Complete the installation process as directed by WordPress and Activate the plugin.
2. FTP
1. Decompress/Extract the .zip file you downloaded from CodeCanyon.
2. Find the WOO-QB-Connector folder (this directory is created when you unzip the file).
3. Upload the WOO-QB-Connector folder to your wp-content/plugins directory.
4. Navigate to your Control Panel: Plugins
5. Under Quickbooks, click Activate Panel: Plugin.
WooCommerce Quickbooks Connector Plugin Configuration
Please go to WordPress Backend and Select WC to Quickbooks Connector plugin.
Step 1: Confirm Your Purchase
- Enter your Codecanyon username there.
- Enter your Purchase Code and click the Verify button.
- The Add Keys Section will be displayed after your Purchase Code has been Verified.
Step 2 : Confirm Your Purchase
- Enter your Codecanyon username.
- Enter your Purchase Code
- Click the Verify button.
- The Connection screen will be displayed after your Purchase Code has been Verified.
Step 3 :
1. Navigate to developer.intuit.com and sign up or create an account there. You must have an active intuit account.
2. In your WordPress backend, Click on “Quickbook Connector” then under that click on “Connection “
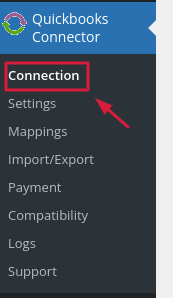
Image No 1 : Connection
3. The connection window will see like as shown below. Note: If you have previously installed this plugin, then click “Reset Connection” first and then follow this step.

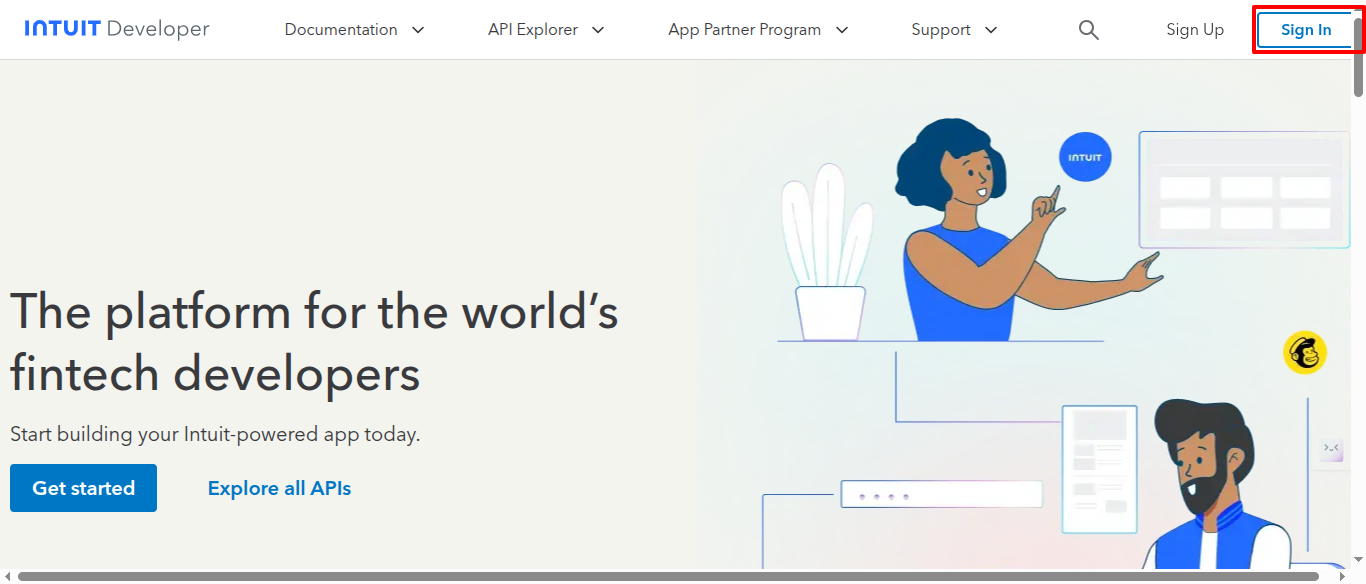
4. Visit Developer.intuit.com, click “Sign In” if you have an account, or select “Sign Up” to create a new account.
5.Log in to your account, navigate to “My Hub”, click on “Workspace,”.

6. In Workspace, Click on “+” icon to create the new Workspace.

7. Fill out all the details to create the workspace.
8. In your created Workspace, click on “+” icon to create App

9. Fill out all the details to create an App and check the Accounting API permissions checkbox. then Click on “Done” and “Confirm” button.

10. Click on “Open App” to open created App.
11. In Keys and Credentials section, you will be able to see the Client ID and Client secret keys for Development and Production Mode.

12. If you are using the Sandbox Account, copy the Client ID and Client Secret keys from the Development section. If you are using the Production Account, copy the Client ID and Client Secret keys from the Production section. and paste those in Quickbooks Connector plugin’s connection section.
13. in Quickbooks Connector plugin’s connection section, Select Account type and then Copy the “Redirect URL” and paste it to the Created App / Settings / Redirect URLs by adding the URL and then save the changes.

14 .in Quickbooks Connector plugin’s connection section, Click on “Save Changes” button.
15 . Before Clicking “Connects to Quickbooks” button , make sure you have created Company in your intuit account.

17. Click to “Connects to Quickbooks” button to connect to quickbooks and then select the respective company and click on “Next”.

18. once you are connected to Quickbooks, then you will be redirect to Quickbooks Connector plugin’s connection section.
19. Click on “Accounts” section
20. Click on the “Get Accounts/Ids” button.

21. Return to the Account section and click the Get Id button until all ids have been fetched. (Repeat the process until all ids are retrieved.)

22. Select the appropriate account in the second section based on your requirements. Then, next to it, click the Get Accounts button. Follow the same steps for all of the fields.

23. Next to the QuickBook logo, you’ll notice the “Connected” logo in green. You can also verify the connection. To do so, go to “Accounts,” scroll to the bottom of the page, and click on “Verify Connection.”

Adding Sandbox Company to QB:-
1. Login to https://developer.intuit.com/.
2. Click on “My Hub” and then click on “Sandboxes” from the dropdown menu.
3. Click on “Add” button to create the Sandbox company.
