How to Create Counters POS Ninja For WooCommerce
- You can register the system here on which you are going to use POS Ninja For WooCommerce. You must first add the outlet and cashiers before you can add the Counters. This is required.
- To Add the Counters,
Go to WordPress Backend → Click on →POS Ninja→ Click on “Outlets & Counters” → Add New.
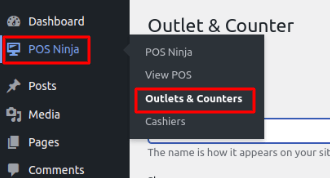
Image 01
- You have to fill out all the details here
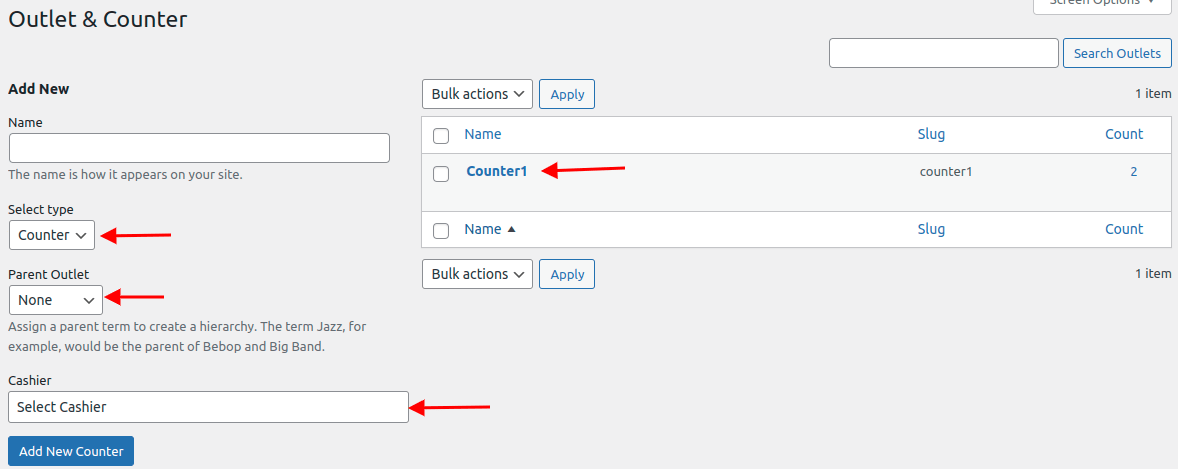
Image 02
Name – Add the Name. The name of the counter will appear when opening it.
Select type: Select type as Counter from the dropdown here
Parent Outlet – Choose the outlet to which this counter is assigned.
Cashier – Choose who you want to be the defaulting cashier when the counter is opened.
- As shown in the image below, all of the Counter POS Ninja For WooCommerce added by the admin are listed here. The user can update the Counter by clicking “edit,” or delete it by clicking “delete.”
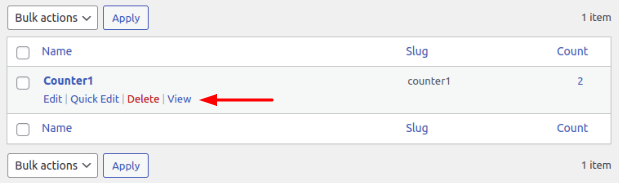
Image 03