Steps to install the plugin:
1) WordPress
- Access your WordPress admin panel and log in.
- Navigate to Plugins and click on “Add New.”
- Select the “Upload” option.
- Click on “Choose File” and choose the plugin package zip file.
- Click “Install Now.”
- Follow the installation process as directed by WordPress and activate the plugin once the installation is complete.
OR
2) FTP
- Unzip the .zip file you downloaded from Codecanyon.
- Locate the folder named “WooCommerce UPS Shipping Pro – Live Rates, Print Label & Tracking” (This directory is created when you unzip the file).
- Upload the “WooCommerce UPS Shipping Pro – Live Rates, Print Label & Tracking” folder to the wp-content/plugins directory.
- In your WordPress control panel, navigate to Plugins.
- Find the WooCommerce UPS Shipping Pro – Live Rates, Print Label & Tracking plugin and click “Activate” to enable it.
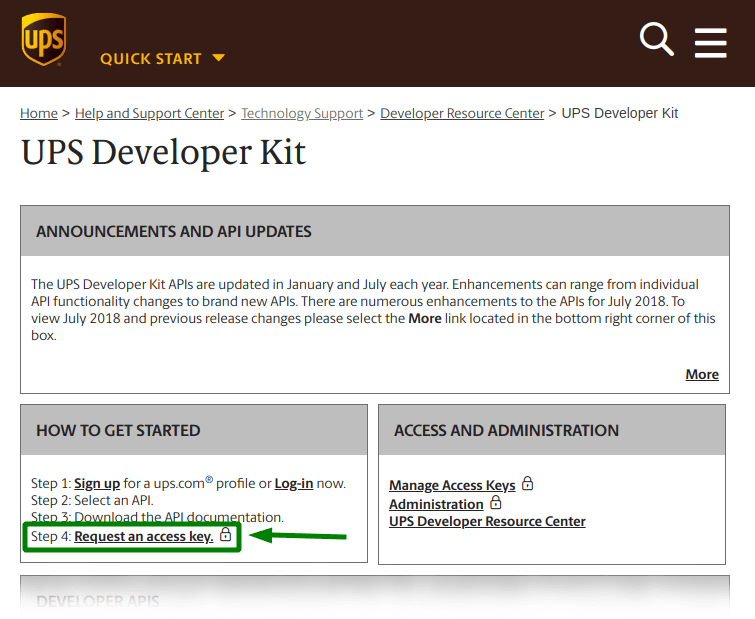
Get UPS API Keys
To use the plugin you need to enter the API keys.

To acquire the necessary UPS account credentials, you must first register on their website. Simply follow the link provided at https://www.ups.com/upsdeveloperkit and continue with the registration process.