Step 1: Log in to Zoho API Console
- Go to the Zoho API Console:
- Log in to your Zoho account and navigate to the Zoho API Console.
Step 2: Create a New Client in Zoho
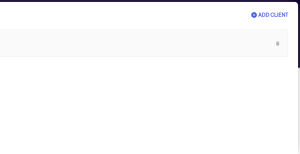
- Add a New Client:
- On the main Applications page, click on Add Client to create a new client application.
- On the main Applications page, click on Add Client to create a new client application.
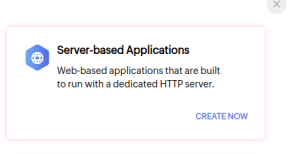
- Select Application Type:
- Choose Server-Based Application as the application type, then click Create Now.
- Choose Server-Based Application as the application type, then click Create Now.
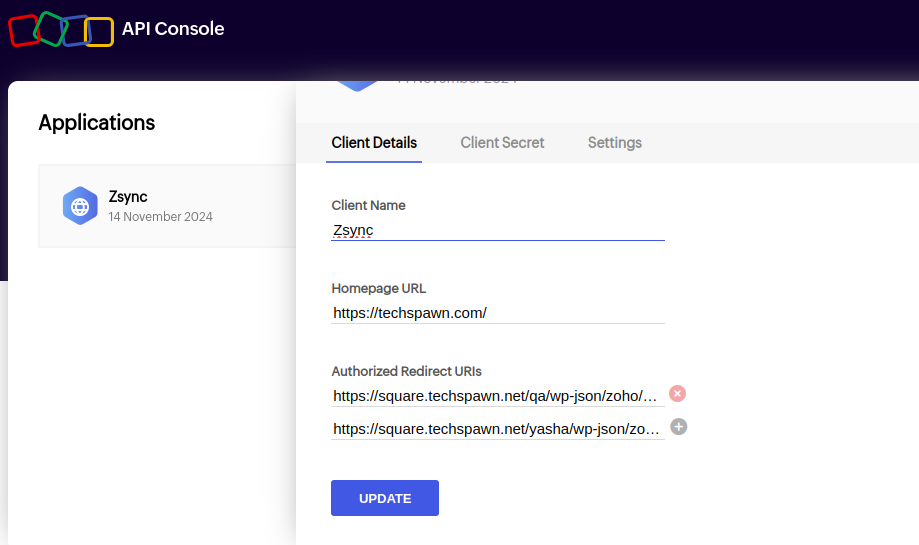
- Enter Application Details:
- Fill out the required fields as follows:
- Client Name: Enter a name for your application (e.g., “Zsync Integration”).
- Home Page URL: Enter the homepage URL of your WooCommerce store.
- Authorized Redirect URIs: Copy the Zoho callback URL from the Zsync Authentication page and paste it into the Authorized Redirect URIs field.

- Fill out the required fields as follows:
- Create the Client:
- Once you’ve entered the details, click Create.


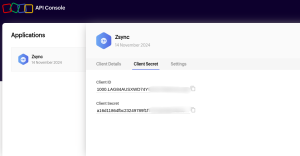
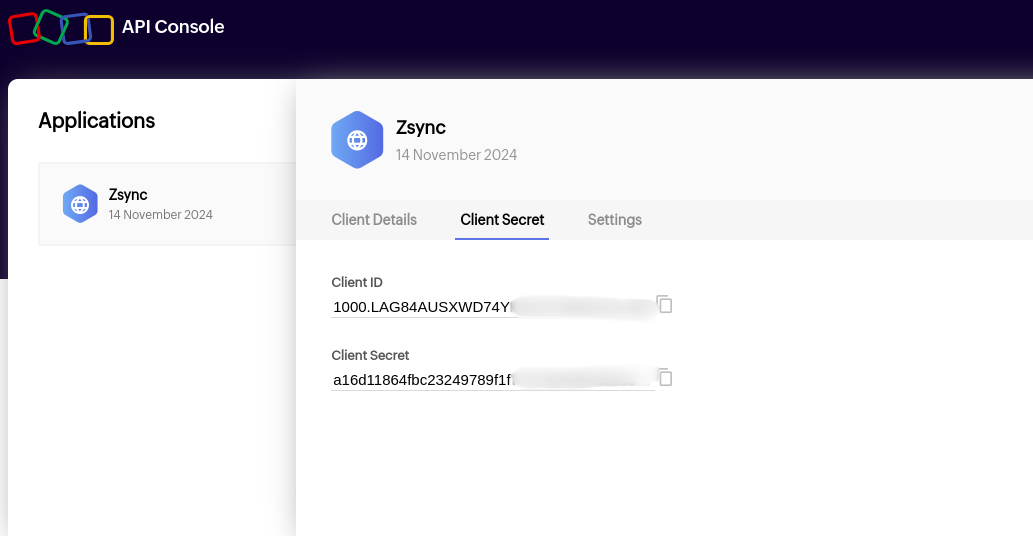
Step 3: Copy Client ID and Client Secret
- Access Client Credentials:
- After creating the client, go to the Client Secret section.
- Copy the Client ID and Client Secret generated for your application.
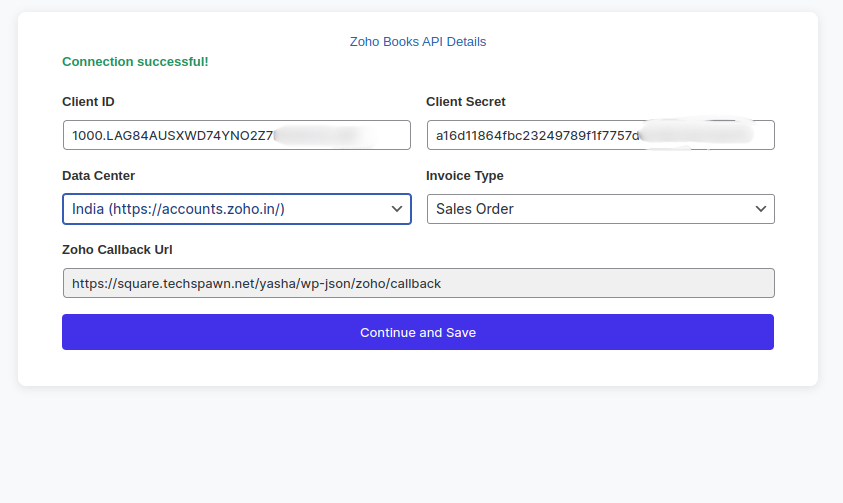
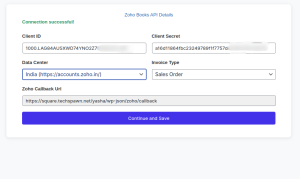
- Paste Credentials in Zsync:
- Open the Zsync authentication page, where you’re setting up the Zoho integration.
- Paste the Client ID and Client Secret into the corresponding fields.
Step 4: Select Data Center and Invoice Type
- Choose Data Center:
- In the Zsync setup, select the correct Data Center based on your Zoho account region (e.g., US, EU, IN).
- Select Invoice Type:
- Choose the Invoice Type that applies to your synchronization (e.g., Sales Order, Invoices), depending on the data you want to sync between WooCommerce and Zoho Books.
- Save and Continue:
- After entering all the required information, click on Save and Continue to complete the authentication setup.
- After entering all the required information, click on Save and Continue to complete the authentication setup.