After successfully installing the Odoo WooCommerce Connector module, navigate to the Settings menu. Here, enable the Debug Log option to facilitate detailed logging during the connector’s operations.

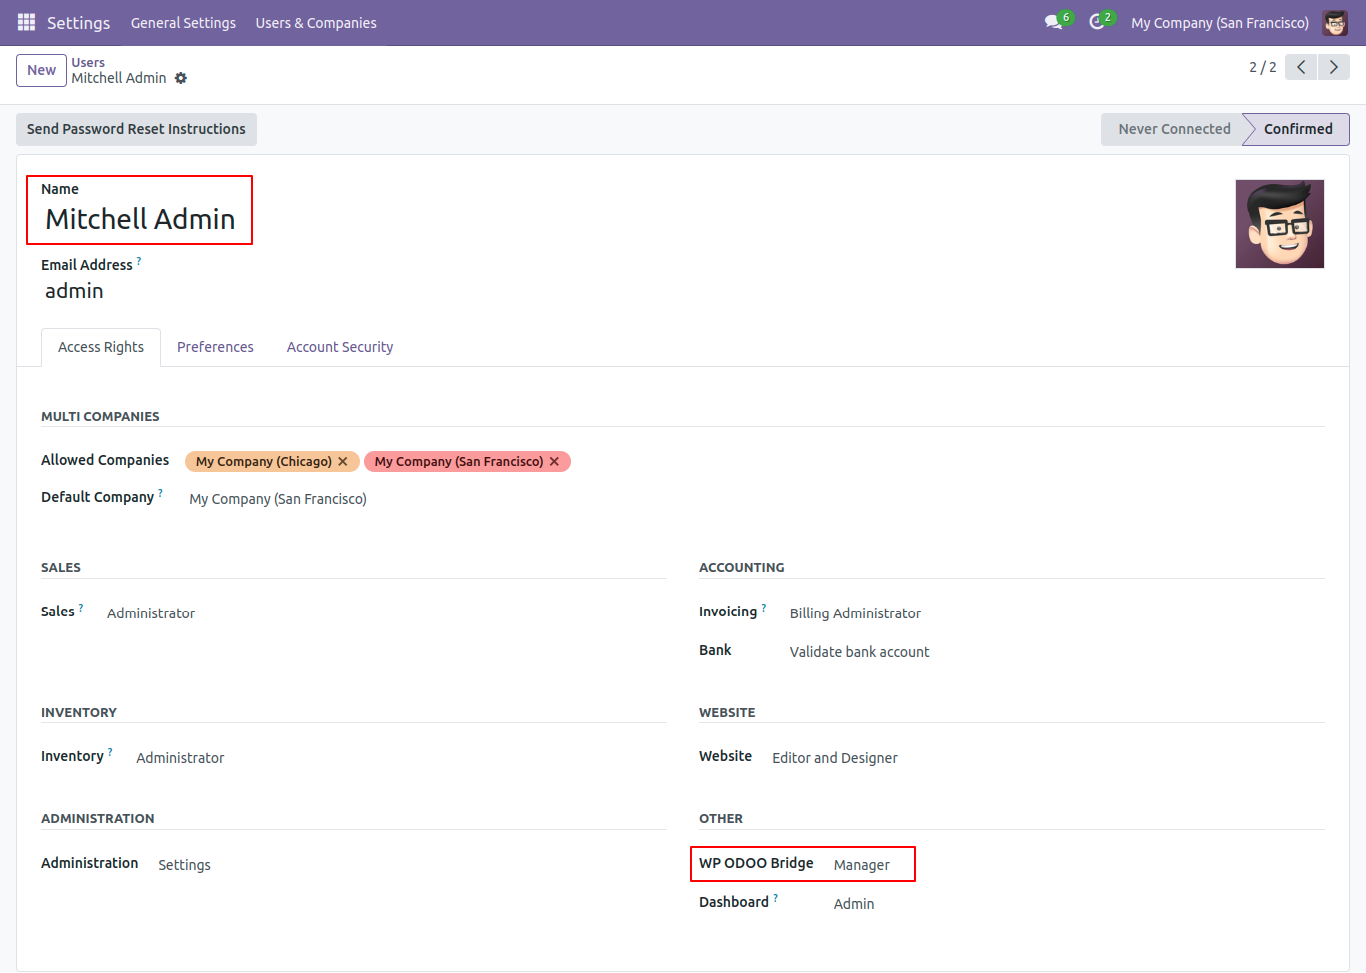
Next, ensure that the necessary user permissions are in place. Go to the Users & Companies section in Settings, and assign Manage access rights to the Administrator. This will provide the Administrator with full control over the WooCommerce connector configuration and operations.

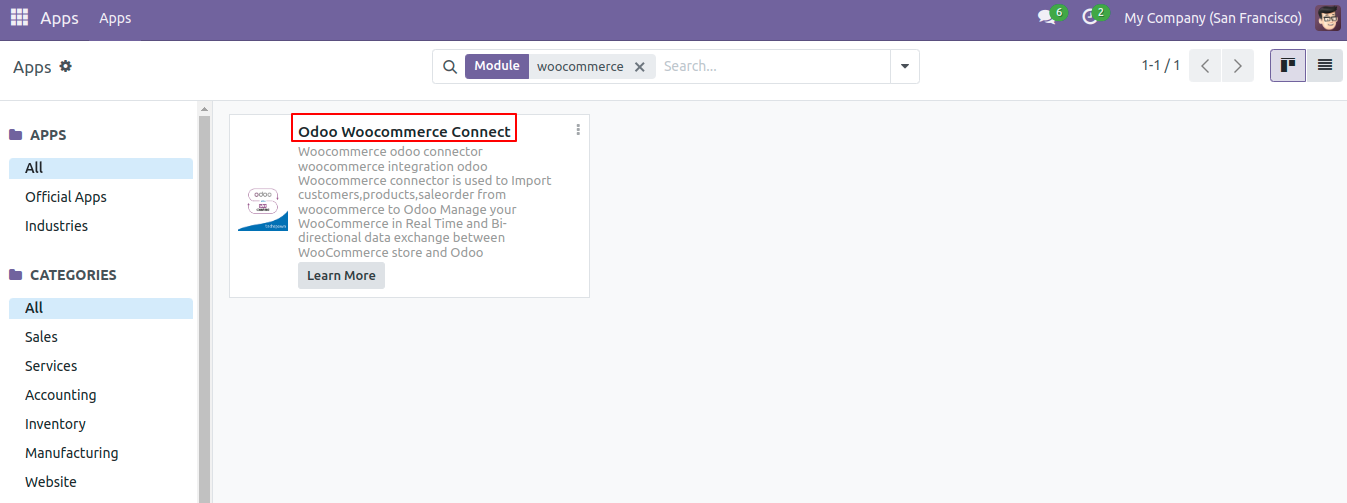
Upon completing the steps outlined above, you will now see the ‘Odoo WooCommerce Connector’ option available in the menu located in the upper left corner of the interface.

To set up the connection between Odoo and WooCommerce:
- Navigate to the Workers Log.
- From the dropdown menu, select WP-Site.

To begin the configuration, click the ‘New’ button. This will allow you to set up and customize the necessary settings for your configuration

To complete the configuration, you will need both the Consumer ID and Secret ID. Follow these steps to locate them:
- Access Your WordPress Site: Log in to your WordPress site.
- Install the WooCommerce Plugin: If not already installed, navigate to the Plugins section and install the WooCommerce plugin.
- Navigate to WooCommerce Settings:
- After installation, go to WooCommerce in the left-hand menu.
- Click on Settings.
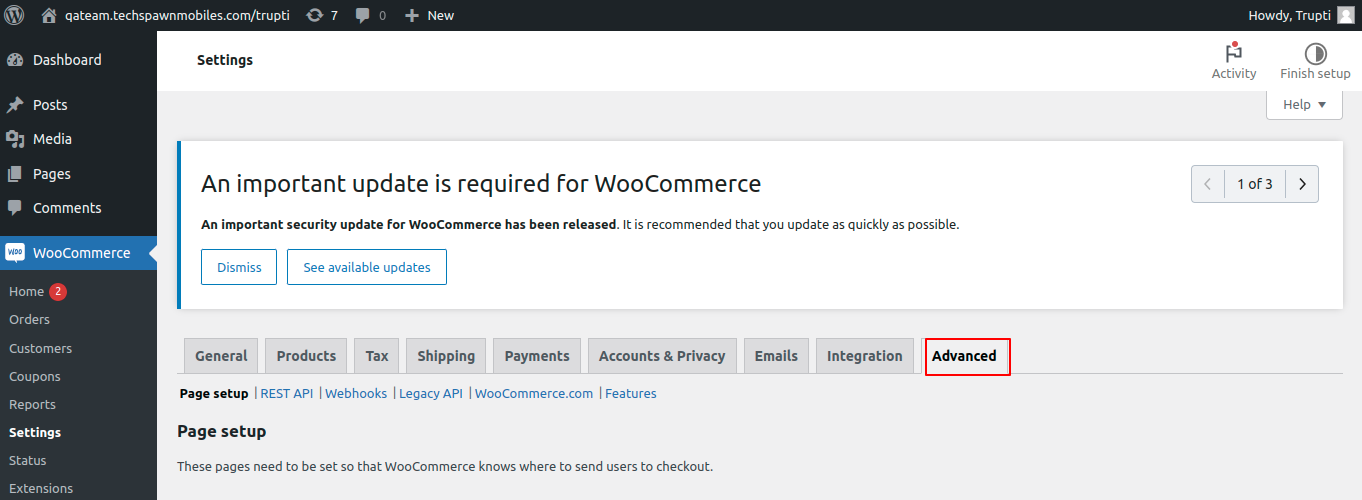
- Click on Advance Tab
- Click on Rest API option and then click on Add Key button.


Choose the ‘Read and Write’ option under Permissions, then click on ‘Generate API Key’ to proceed

You can now view the Consumer Key and Secret Key for your application.

Once the Consumer Key and Secret Key have been generated, the next step is to connect Odoo’s WooCommerce connector to your WordPress site.
Steps to Establish the Connection:
- Access Odoo: Log in to your Odoo instance and navigate to the WooCommerce configuration settings.
- Input WordPress URL: In the URL field, copy and paste the full WordPress admin URL.
- For example, if your WordPress admin URL is:
https://qateam.techspawnmobiles.com/techspawn/wp-admin/ - You need to adjust the URL to:
https://qateam.techspawnmobiles.com/techspawn/(removing the/wp-admin/part).
- For example, if your WordPress admin URL is:
- Copy the Consumer Key and Secret Key from WordPress. Navigate to the appropriate settings in your WordPress dashboard to retrieve the Consumer Key and Secret Key. Document these keys carefully for future reference.
- Paste the Consumer Key and Secret Key into Odoo. In the Odoo integration module, locate the fields for these keys and paste the values accordingly.
- Enter the WordPress Site Username and Password. Ensure that you use the correct login credentials associated with your WordPress site for a successful connection.

- Click the “Check Connection” button to initiate the connection test.
- If the connection is successful, a pop-up message will appear stating “Test Success.”

We are now ready to begin the Import and Export operations. This section will guide you through the process, outlining the steps, configurations, and any prerequisites required to ensure smooth data handling.

Import Product:To import products from WordPress into Odoo, simply click on the “Import Product” button.

A confirmation popup will appear to indicate whether the products have been successfully imported.

After this in the inventory module you can see all the product information. Product id, SKU, Sale prie and Regular price.


Import Customer:
To import customers from WordPress into Odoo, follow the steps below. Ensure that all customer data is correctly entered in WordPress before starting the import process.
- Adding Customers in WordPress:
- Navigate to the WordPress dashboard.
- Click on Users in the left-hand menu, then select Add New User.

- Fill in the required details for the new customer, such as username, email, and password.
- Under the Role dropdown, select Customer.
- Once all details are entered, click on the Add New User button to create the customer account.

- Navigate to Odoo.
- Click on the Import Customer button.
- A confirmation pop-up will appear, indicating whether the customer has been successfully imported.

After importing, the system will display the imported customer details for review

To create coupons in WordPress, follow the steps below:
- Navigate to Coupons: From the WordPress dashboard, click on Marketing in the side menu, and then select Coupons.
- Fill in Coupon Details:
- Coupon Name: Enter a unique name for the coupon.
- Discount Type: Choose the type of discount (e.g., percentage discount, fixed cart discount, etc.).
- Coupon Amount: Specify the value of the discount.
- Coupon Expiry Date: Set an expiration date for the coupon if needed.
- Generate Coupon Code:
- Click on the Generate Coupon Code button to automatically create a unique coupon code.
- After reviewing all the entered details, ensure that the data is accurate.

- Navigate to Odoo.
- Click on the Import Coupons button.
- A confirmation pop-up will appear, indicating whether the Coupons has been successfully imported.

After importing, the system will display the imported coupons details for review.

Import Sales Order: To import a sale order, ensure that both the customers and products have been imported beforehand.
Next, click on the “Import Sale Order” button. A confirmation pop-up will appear, indicating whether the sale order.

After importing, the system will display the imported sale order details details for review.

