- Once you installed and activated the Billable – PDF Invoices & Packing Slips for WooCommerce. It will appear like the below image in the left pane of your WordPress backend.
2. Go to Invoice Settings
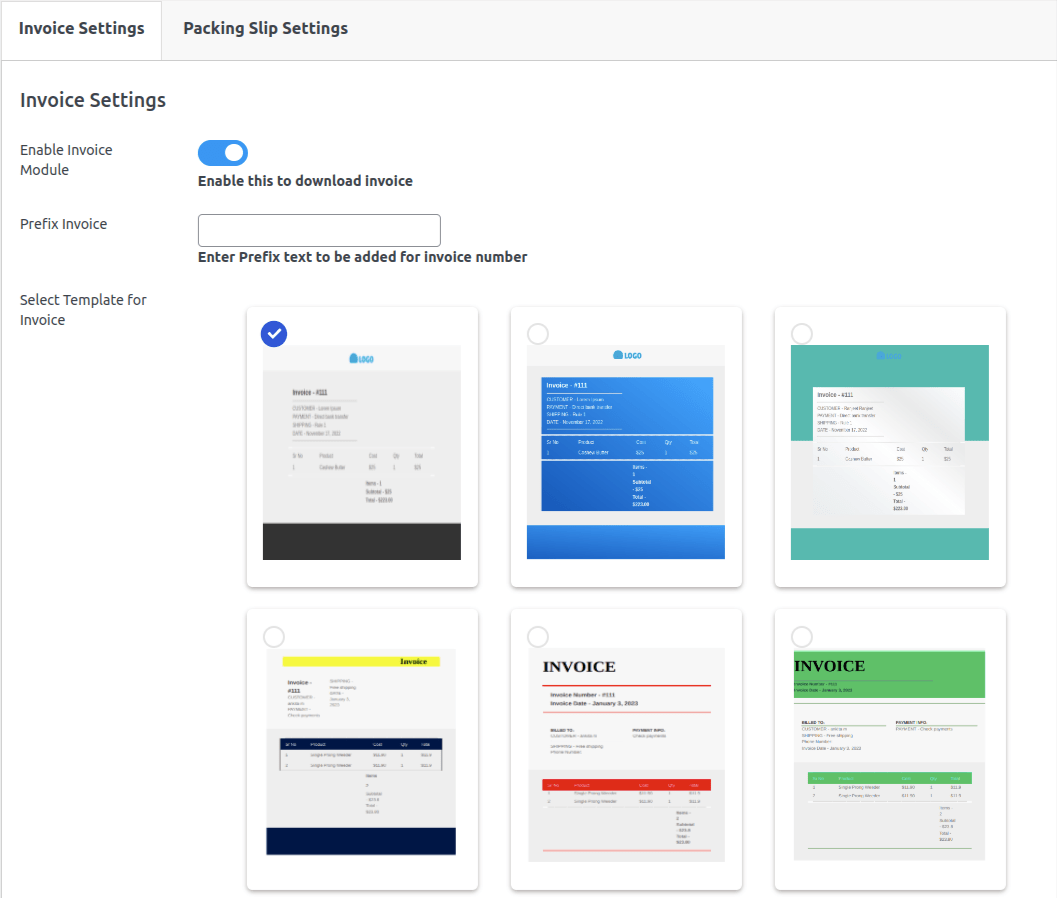
Enable Invoice Module – When you enable this, the invoice button appears on the order edit page and the user is able to download the invoice.
After checking the box goes to the orders page there you can see the invoice print and packaging slip button.

Prefix Invoice –Enter the required invoice number’s prefix text. Whichever text you enter here will appear before your order number on the order edit page.

Select Template for Invoice – Choose a template from the templates available, and your order will be downloaded in that template format.
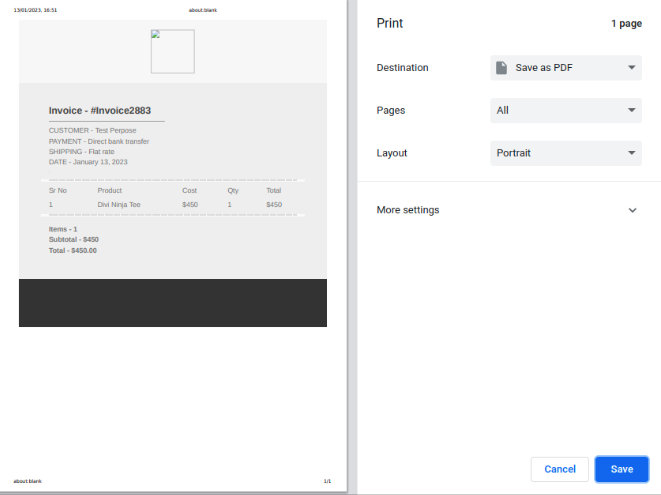
Go to the order editing page > Edit order > click on the invoice; your order will then be downloaded.
After downloading, it appears as follows:
3. Go to Packing Slip Settings
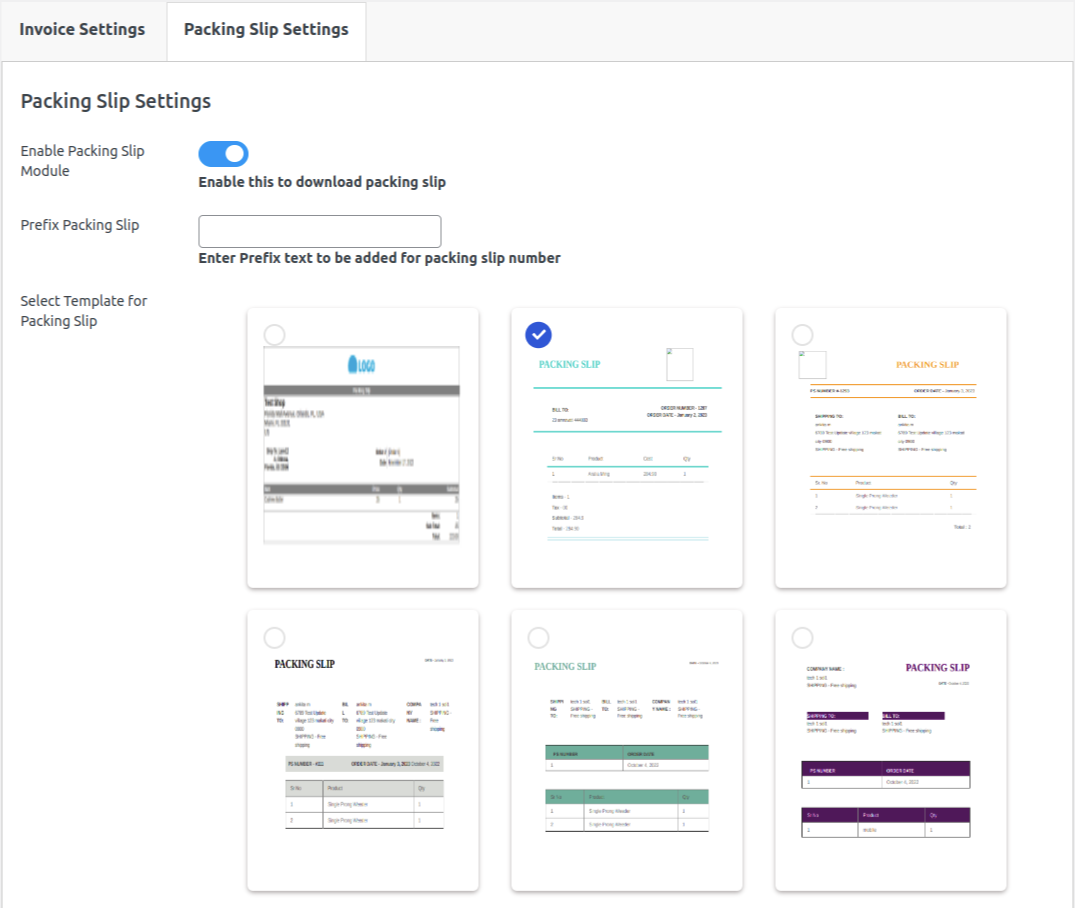
Enable Packing Slip Module – When you enable this, the Packing Slip button appears on the order edit page and the user is able to download the Packing Slip.
After checking the box goes to the orders page there you can see the invoice print and packaging slip button.
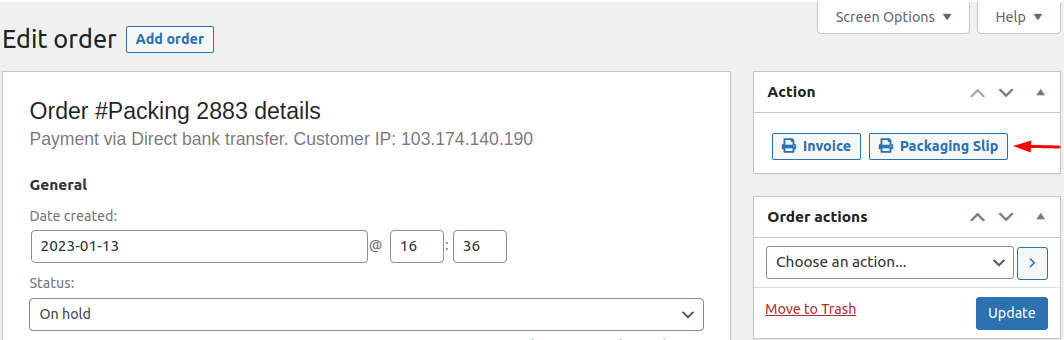
Prefix Invoice – Enter the required packing slip number’s prefix text. Whichever text you enter here will appear before your order number on the order edit page.

Select Template for Packing Slip-
Choose a template from the templates available, and your order will be downloaded in that template format.
Go to the order editing page > Edit order > click on the packing slip; your packing slip will then be downloaded with the data.
After downloading, it appears as follows:
