Install the plugin. Click on the settings tab from the left pane of the WordPress.
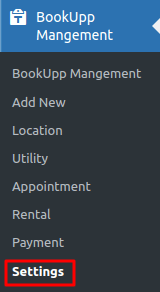
Image 01
After clicking on the settings you will able see the ‘Control Settings‘ Screen
Select the currencies. click on Save changes.
Prefix : Currency sign will displayed before the price
For Example: $45
Suffix : Currency sign will displayed after the price
For Example: 45$
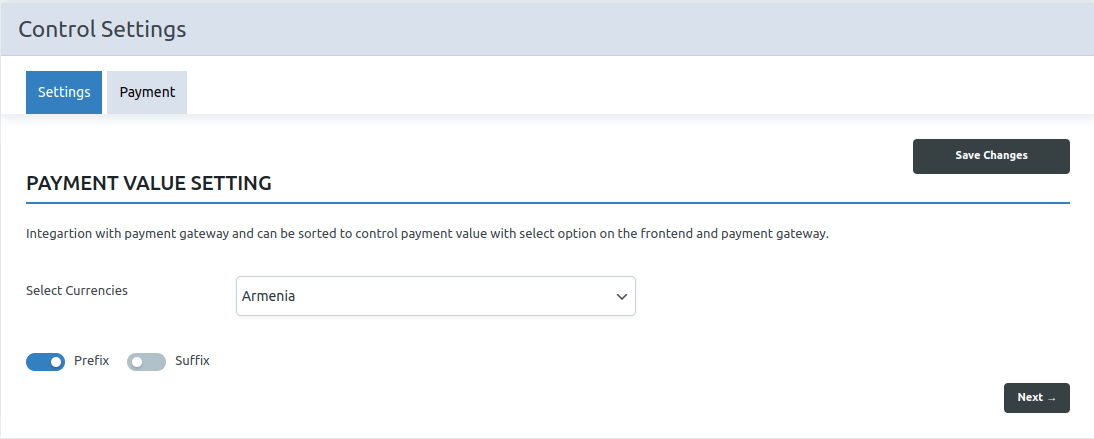
Image 02
Click on Payment Tab.
Select the Test Mode / Live Mode according to you.
Enter the Client ID which you have got from the Stripe Account. Click on Save Changes.
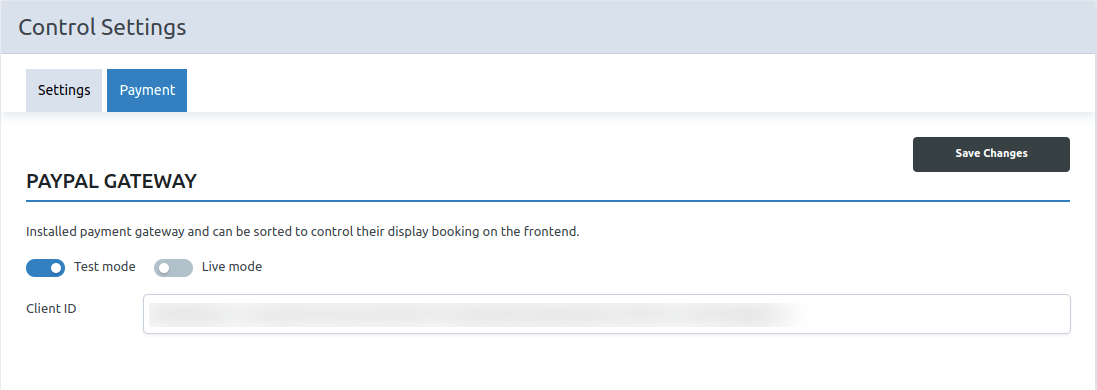
Image 03
After Saving the “Save Changes” button. You will be displayed the Payment Method.
Cash On Delivery and PayPal Payment
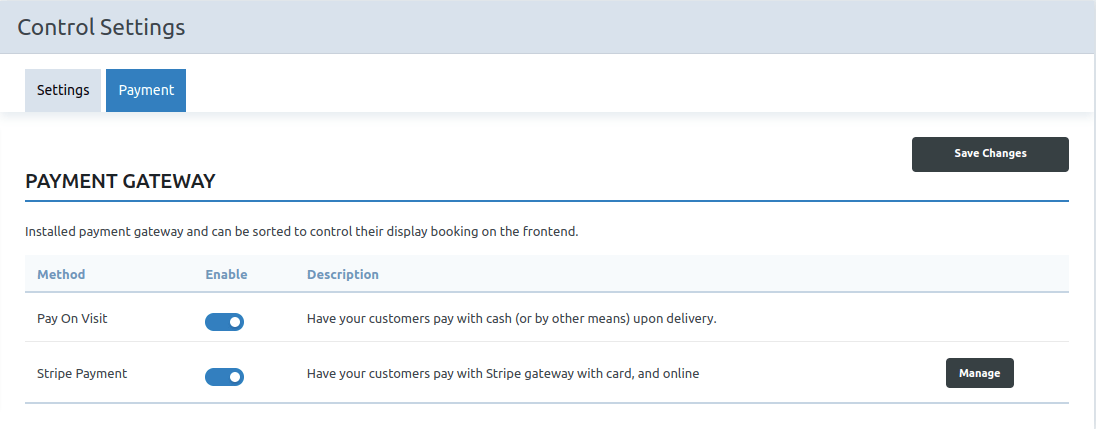
Image 04
If you click on the ‘Manage‘ button then you can edit the Client ID.

Image 05
If the PayPal Payment method is enabled from the back end then ‘PayPal Payment’ method will be displayed on the front end.
Click on Checkout button. 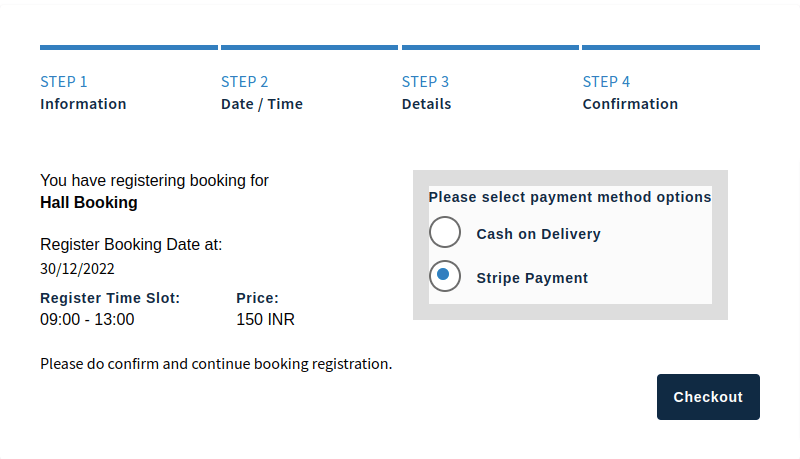
Image 06
Fill out the Form. Click on the Pay button. Transaction Completed. It will be displayed in the payment tab and appointment details display in the appointment tab.
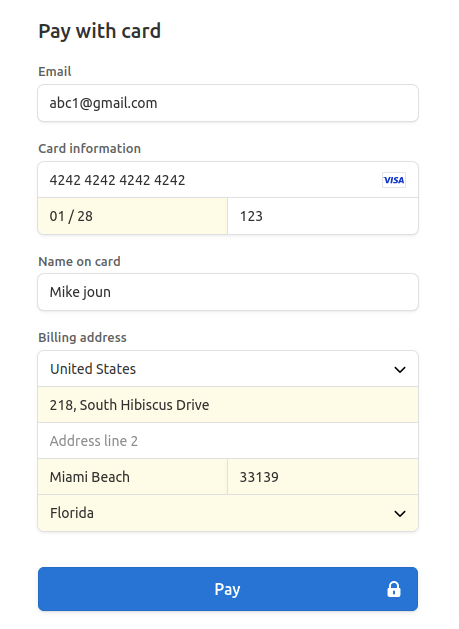
Image 07