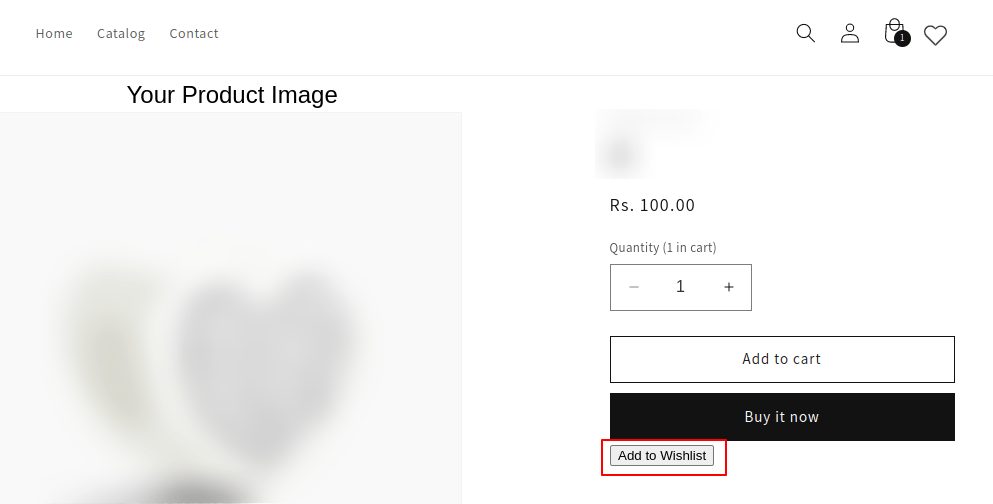
- As users navigate to the website’s front end, they will come across the wishlist icon prominently featured in the header, represented as a heart-shaped symbol as shown in below.
![]()
- To Add a product into your wishlist, proceed as follows:
- Access your website and log in to your store account.
- Find the product you wish to save to your wishlist.
- Look for the “Add to Wishlist” button, typically located near the product description or on the product page.
- Simply click on the “Add to Wishlist” button associated with the product you want to save.
- The product will be automatically included in your wishlist.
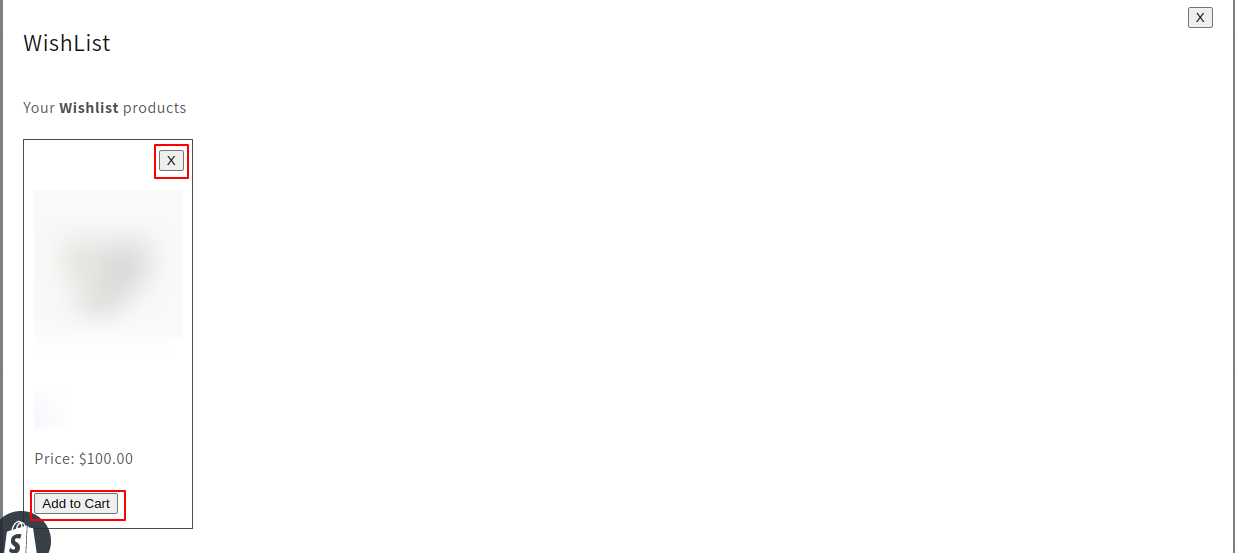
- To Access your product in the wishlist and Move them to then Cart , proceed as follows
Certainly, to access the products you’ve placed in your wishlist, you can proceed as follows:
- Click on the wishlist icon situated in the header of your website. This icon is typically depicted as a heart-shaped symbol or a similar image.
- A wishlist popup will appear, showcasing the products you’ve saved. In this popup, you will typically find product names, images, and other pertinent details.
- Peruse your wishlist to review the saved products. From this popup, you can also manage your wishlist by removing items or adding products to your cart as needed.